The Complete Home EV Charger
Installation Guide for Chilliwack Homeowners
Chris Nickel
Red Seal Journeyman Electrician — CN Electrical, Chilliwack, BC
A home Level 2 EV charger installation in Chilliwack typically costs $1,200–$2,500 for a straightforward garage install and takes 3–5 hours. The total depends on your panel capacity, the distance from panel to charger, and whether you need a service upgrade. The charger itself adds $600–$800 (Tesla Wall Connector, ChargePoint Home Flex, or Grizzl-E). If your home has a 100A panel — common in pre-1990s Chilliwack homes — you'll likely need a 200A panel upgrade first, bringing the total to $3,000–$5,000. Every installation requires a Technical Safety BC permit, and most require a BC Hydro load notification. Learn more about our EV charger installation services in Chilliwack. Read on for the complete breakdown.
You bought the electric vehicle. You're enjoying the silence, the instant torque, and the gas-station-free lifestyle — until you realize that charging on a standard 120V wall outlet delivers about 6 kilometres of range per hour. If your daily commute is more than a trip to the grocery store, you need a Level 2 home EV charger. And getting one installed isn't as simple as bolting a box to the wall — it involves your electrical panel, BC Hydro, Technical Safety BC, and some important decisions about which charger and what amperage are right for your home.
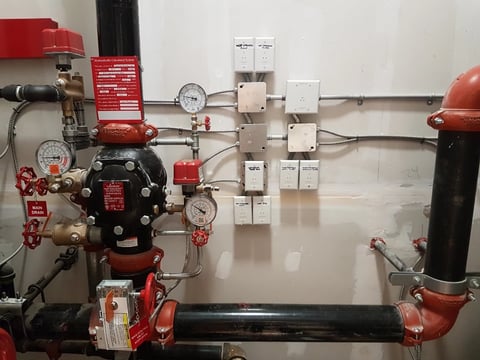
At CN Electrical, we've installed hundreds of EV chargers across Chilliwack — from single-family garages in Promontory and Sardis to outdoor pedestal mounts on acreages along the Vedder River. This guide draws on that real-world experience. We'll walk you through the decisions every homeowner faces, the regulations that govern the work, and exactly what to expect from start to finish. Before a new charger installation, our residential electrical repair team can assess your existing panel and wiring to flag issues early. If you're ready to get started, see our licensed EV charger installation services for a free quote.
Whether you're driving a Tesla, a Hyundai IONIQ, a Ford F-150 Lightning, or any other EV, the fundamentals are the same. By the end of this guide, you'll know which charger is right for you, whether your panel can handle it, and what it's going to cost — before you spend a dollar.
What You'll Learn in This Guide
Click the quick-links below to jump to any section.
- 1.Level 1 vs. Level 2 Charging — Why a Wall Outlet Isn't Enough
- 2.Tesla Wall Connector vs. ChargePoint Home Flex vs. Grizzl-E — Which One Belongs in Your Garage?
- 3.Does Your Electrical Panel Have Room for an EV Charger?
- 4.BC Hydro Load Notification — What It Is and When You Need One
- 5.Technical Safety BC Permits — Why You Can't Skip This Step
- 6.Where to Mount Your Charger — Location, Conduit, and Future-Proofing
- 7.Real Installation Costs for Chilliwack Homeowners
Plus: charger comparison table, real cost breakdown, rebate eligibility, and when to call a licensed electrician.
Level 1 vs. Level 2 Charging — Why a Wall Outlet Isn't Enough
A standard 120V wall outlet (Level 1) delivers roughly 1.4 kW of power — about 6 to 8 kilometres of range per hour of charging. That's fine if you drive 40 km a day and have 12 hours to charge overnight. But if your commute takes you to Abbotsford, Langley, or Metro Vancouver, or if your EV has a larger battery — think Ford F-150 Lightning, Rivian R1T, or a long-range Tesla — Level 1 won't keep up. A Level 2 charger operates at 240V and delivers 30 to 60 kilometres of range per hour — a full charge overnight on BC Hydro's mostly off-peak rates.
- Level 1 (120V) charging adds about 6–8 km of range per hour. Over a 10-hour overnight charge, that's 60–80 km — enough for a modest commute but not a full battery. If you arrive home with 20% charge remaining on a vehicle with a 400 km range, Level 1 would take over 40 hours to reach full. That's not practical for daily driving.
- Level 2 (240V) at 40A delivers 9.6 kW and adds about 40–50 km of range per hour. Over the same 10-hour overnight window, that's 400–500 km of range — a full charge for nearly every EV on the market. For most Chilliwack homeowners, a 40A or 48A hardwired Level 2 charger is the sweet spot that balances charging speed with installation cost.
- The Canadian Electrical Code treats EV chargers as continuous loads — meaning the circuit must be sized at 125% of the charger's rated draw. A 40A charger needs a 50A circuit. A 48A charger needs a 60A circuit. This is not a guideline; it's the law, and it's one of the reasons a licensed electrician must do the work.
Important
Never use an extension cord for Level 1 EV charging. Standard extension cords are not rated for the continuous 12A load and can overheat, melt, and start a fire. If you must use Level 1 temporarily, plug directly into a dedicated circuit with nothing else on it.
40–50 km
Level 2 Range Added Per Hour
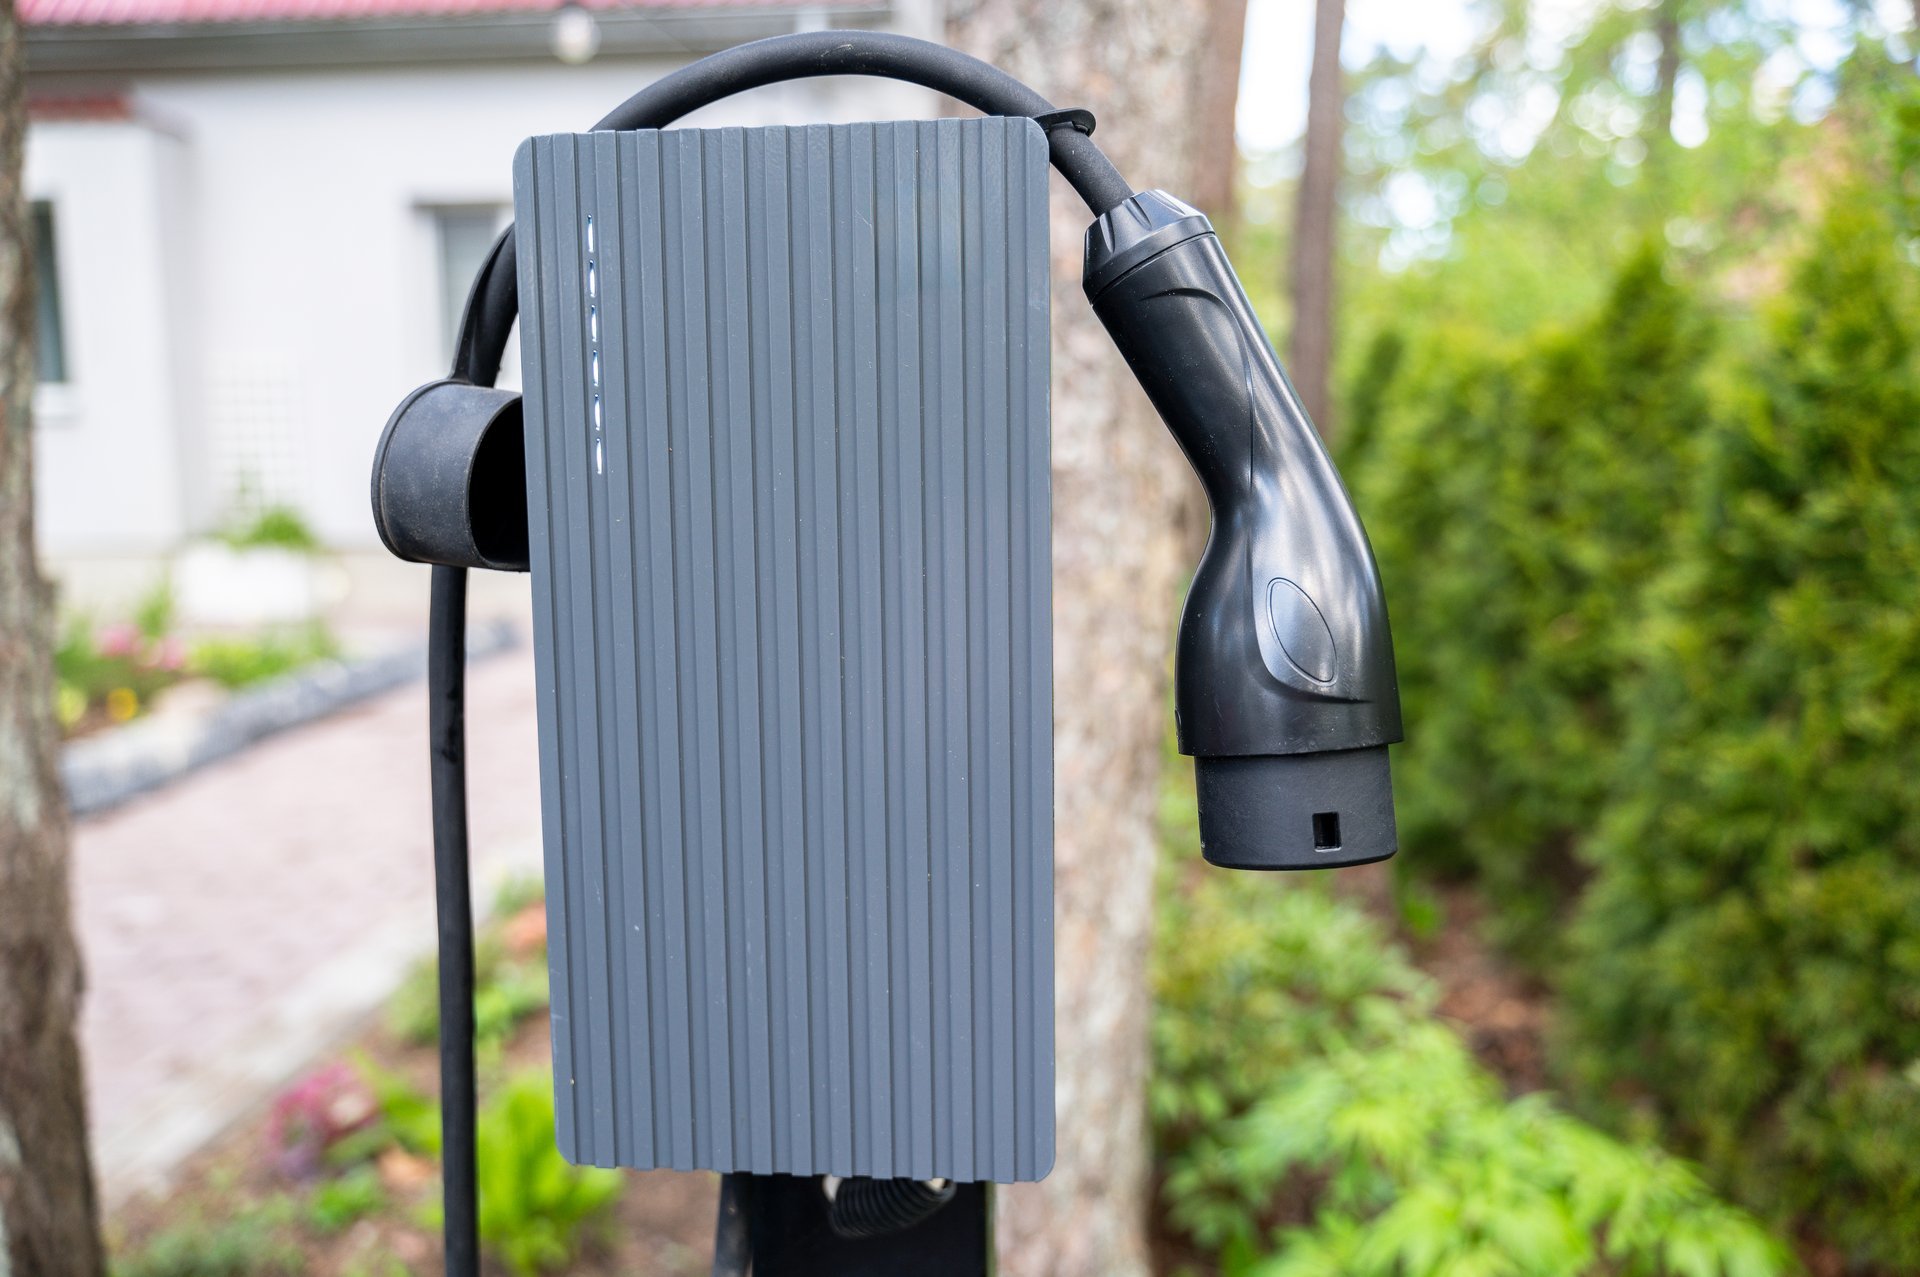
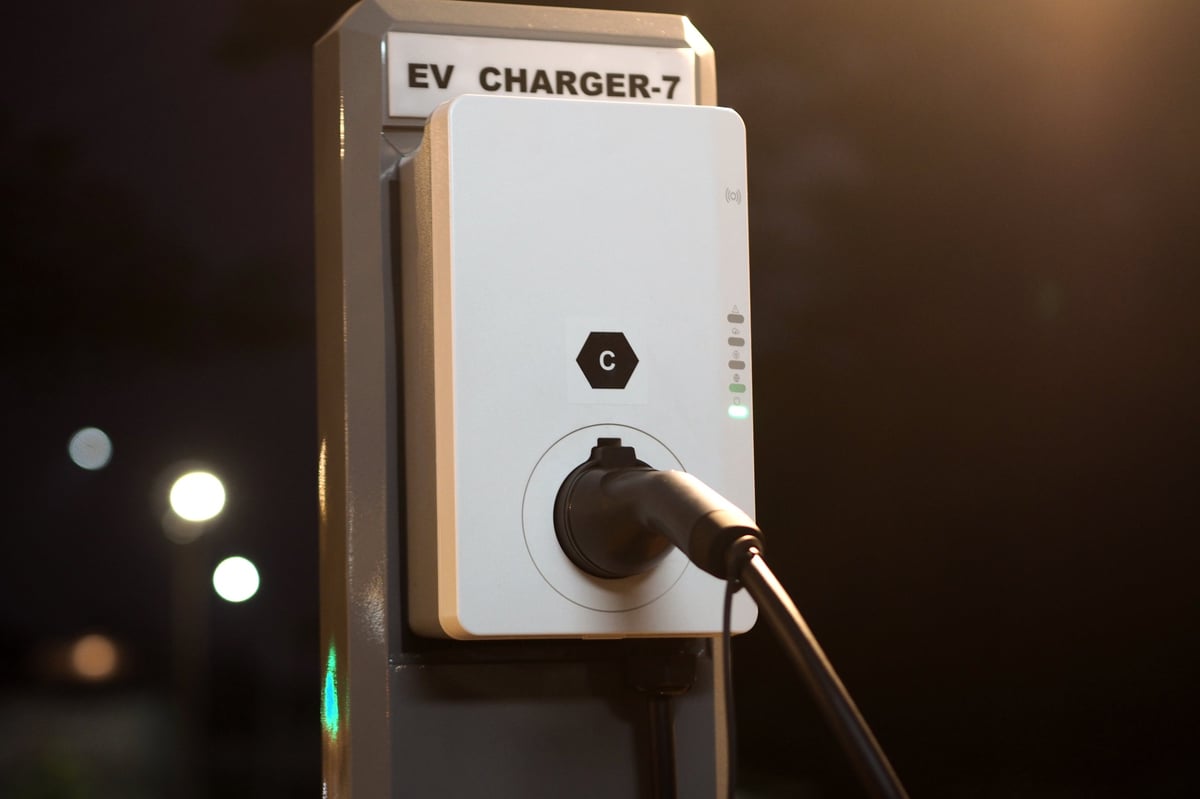
Tesla Wall Connector vs. ChargePoint Home Flex vs. Grizzl-E — Which One Belongs in Your Garage?
Three chargers dominate the Canadian residential market, and they're the three we install most often. Here's how they compare for Chilliwack homeowners:
- The Tesla Wall Connector (Gen 3) delivers up to 48A (11.5 kW) on a 60A circuit and is the obvious choice for Tesla drivers. It also works with non-Tesla EVs via the built-in adapter on the Universal model. Features include Wi-Fi, over-the-air firmware updates, and dynamic power management for panels near capacity. Tesla's load-sharing capability lets you run multiple Wall Connectors on one circuit — ideal if you're future-proofing for a second EV.
- The ChargePoint Home Flex is the most flexible option — hardwire for up to 50A (40A continuous / 9.6 kW) or plug into a NEMA 14-50 for 32A continuous. Its standout feature is the ChargePoint app, which integrates with most utility time-of-use programs and tracks energy consumption in detail. If your panel can't support a full 50A circuit, the internal DIP switches let you configure it as low as 16A — useful for older Chilliwack homes with limited panel capacity.
- The Grizzl-E (Classic and Avalanche) is manufactured in Canada and built for our climate. It's NEMA 4X rated — meaning it withstands direct rain, snow, and freezing temperatures without complaint. The Classic model uses DIP switches for amperage selection (no app, no Wi-Fi, no complexity), while the Avalanche adds Wi-Fi and app control. For outdoor installations on an exterior wall or freestanding pedestal, the Grizzl-E is the most weather-resilient option on the market.
$550–900
Typical Charger Unit Cost (CAD)
Charger Comparison at a Glance
The three Level 2 chargers we install most often for Chilliwack homeowners. All three are hardwired-capable and TSBC-compliant.
| Charger | Max Output | Power | Best For | Price |
|---|---|---|---|---|
| Tesla Wall Connector (Gen 3) | 48A | 11.5 kW | Tesla owners; NACS native | $600–$800 |
| ChargePoint Home Flex | 50A circuit / 40A charging | 9.6 kW | Multi-brand households; utility integration | $700–$900 |
| Grizzl-E Classic / Avalanche | 40A | 9.6 kW | Outdoor installs; Canadian weather | $550–$800 |
Does Your Electrical Panel Have Room for an EV Charger?
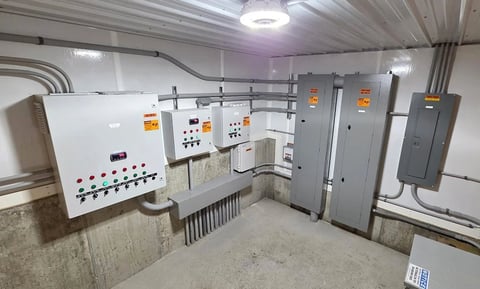
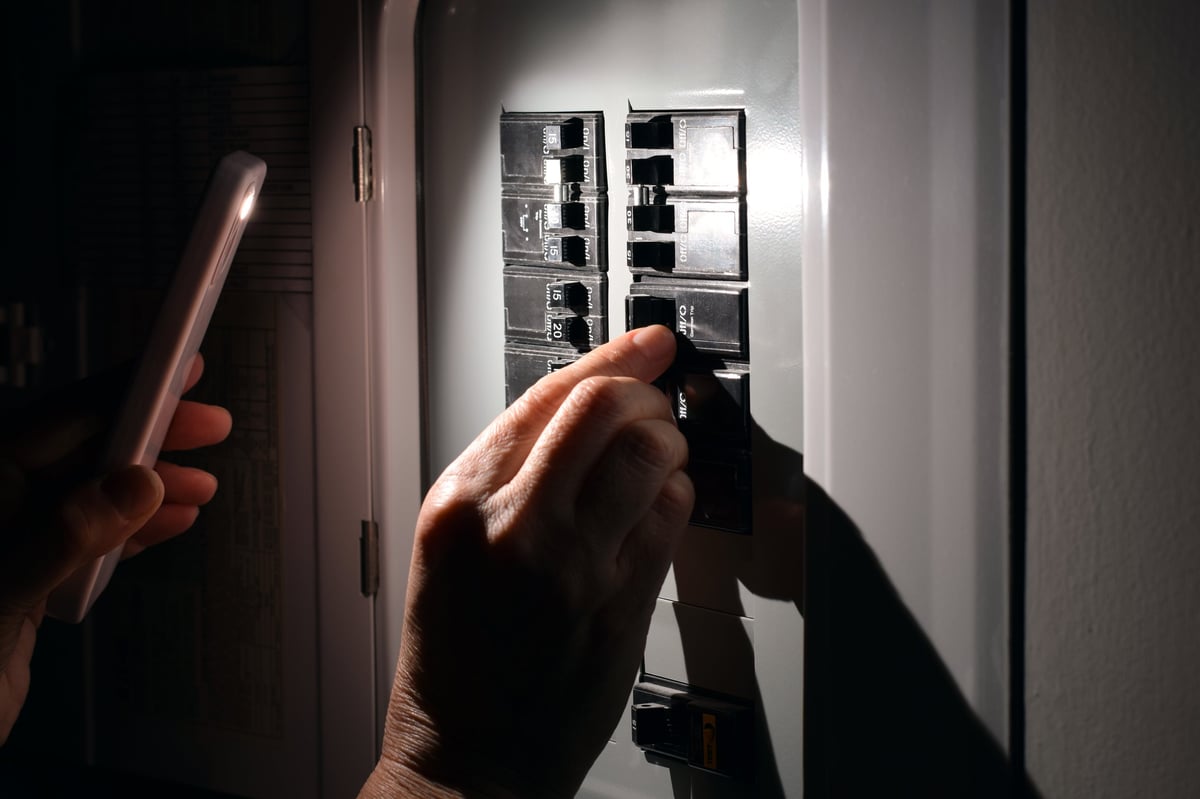
This is the number-one question — and the number-one reason installations cost more than homeowners expect. A Level 2 charger requires a dedicated 240V circuit, and whether your panel can accommodate it depends entirely on your home's existing electrical service size and the load already on it.
- 200A panel with spare capacity: A straightforward install. We run a dedicated 60A circuit from the panel to the charger location, mount the unit, and commission it. You're looking at the base price range — $1,200–$2,500 total including the charger, circuit, labour, and permit.
- 200A panel that's nearly full: If your panel's load calculation shows the charger would push you over 80% of its rated capacity, you need a load management device (like the DCC-12 or Tesla's built-in dynamic power management). This device monitors total panel load and temporarily reduces charging current when your home's other large loads — stove, dryer, AC — are running simultaneously. Budget an extra $600–$1,200.
- 100A panel — common in Chilliwack homes built before the 1990s: A 100A service cannot safely support a Level 2 charger plus the rest of your home's electrical loads. You'll need a 200A panel upgrade before the charger can be installed. Plan for $1,800–$2,800 for the panel upgrade plus the charger installation — combined total $3,000–$5,000. For more detail, see our complete guide on <Link to="/blog/when-to-upgrade-your-electrical-panel" class="text-brand hover:text-brand-dark underline transition-colors">when to upgrade your electrical panel</Link>.
Important
Skipping the load calculation is the most common cause of nuisance main-breaker trips after an EV charger installation. A licensed electrician must perform a load calculation under Rule 8-200 of the Canadian Electrical Code before installing the charger circuit.
200A
Minimum Recommended Service
BC Hydro Load Notification — What It Is and When You Need One
For any new Level 2 charger installation in BC, your electrician is required to submit a load notification to BC Hydro if the charger's connected load exceeds 40A or if your home's total connected load after installation exceeds 80% of the service rating. In practice, this covers most 48A charger installations and any 40A charger going into a home with a 100A panel.
- The load notification tells BC Hydro's distribution planning department that a significant new load is being added to the grid at your address. BC Hydro uses this data to plan transformer and distribution upgrades — it's proactive infrastructure management, not a permission-gating process. In newer Chilliwack neighbourhoods like Garrison Crossing and Promontory, the grid infrastructure is modern and this is purely routine.
- In older Chilliwack neighbourhoods — including parts of the downtown core and older residential streets with legacy transformer infrastructure — BC Hydro may use the notification to verify that the local transformer can handle the additional load. If upgrades are needed, BC Hydro schedules them on their timeline and at their cost — not yours.
- CN Electrical handles the notification paperwork as part of every installation. You don't need to contact BC Hydro, fill out forms, or follow up. We include the notification in our permit-and-paperwork package so the entire process — from assessment to commissioning — is seamless.
Technical Safety BC Permits — Why You Can't Skip This Step
A home EV charger installation in BC always requires an electrical permit from Technical Safety BC. This isn't optional — it's provincial law under the Safety Standards Act. Skipping the permit can void your home insurance, create problems when you sell the property, and leave you with an installation that no licensed authority has verified for safety or code compliance.
- The permit covers three essential checks: (1) Verification that the circuit, breaker, and wiring are correctly sized for the charger's continuous load under the CEC 125% rule — a 40A charger needs a 50A circuit, a 48A charger needs a 60A circuit. (2) Inspection of the panel connection, grounding electrode continuity, and bonding to ensure fault current has a safe path to ground. (3) Confirmation that the installation meets CEC Rule 86-300 for electric vehicle supply equipment, including the disconnect requirements and receptacle restrictions introduced in the 2024 code.
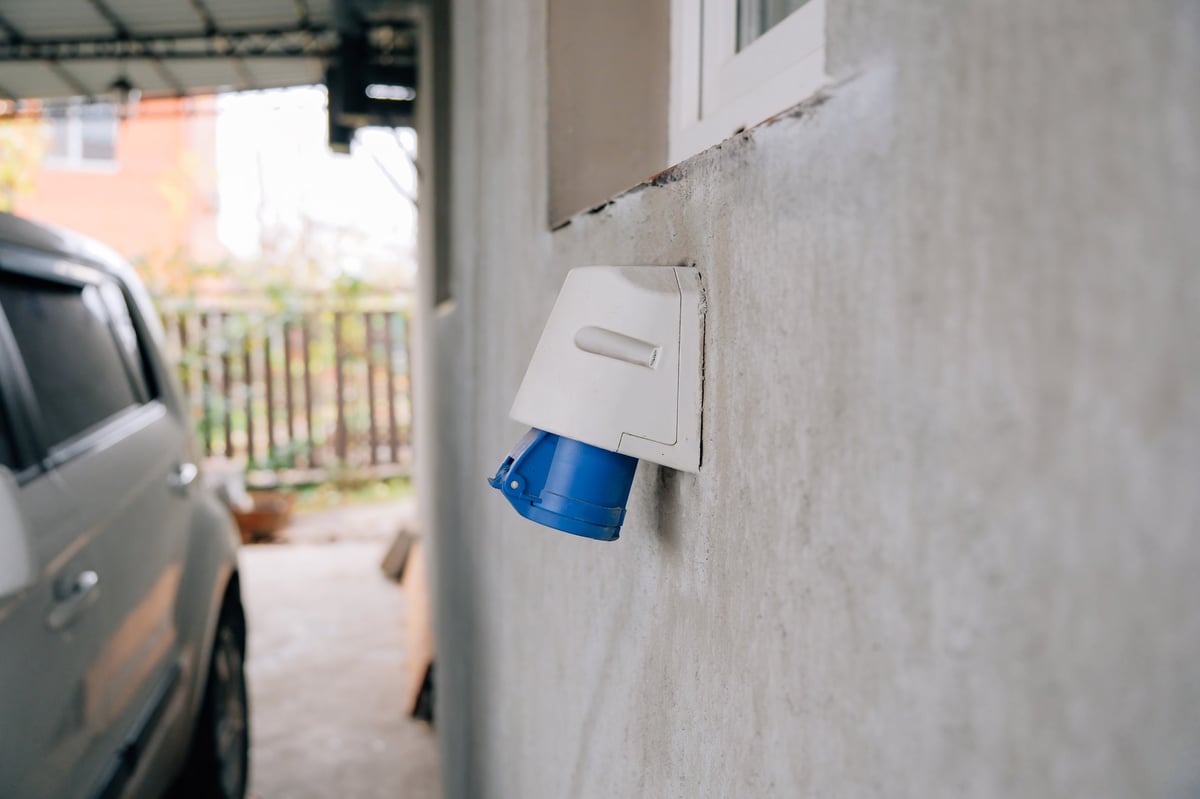
- The 2024 Canadian Electrical Code update made important changes to EV charger requirements. Notably, new installations above 40A must be hardwired — NEMA 14-50 plug-in configurations above 32A continuous load are no longer permitted for new installations. This eliminates a common failure point (the receptacle itself) and aligns with best practice: hardwired connections are inherently safer and more reliable under continuous load.
- CN Electrical pulls the permit, installs to code, and coordinates the TSBC inspection. When the work passes, you receive a Certificate of Compliance — your proof that the charger was installed safely, legally, and to the current edition of the Canadian Electrical Code. We recommend keeping this certificate with your home documents for insurance and resale purposes.
Important
If your home insurance provider discovers an unpermitted EV charger installation after a fire or claim — even if the charger didn't cause the incident — they may deny your claim on the grounds of undisclosed electrical modifications. The permit protects you.
40A→50A
CEC 125% Rule
Where to Mount Your Charger — Location, Conduit, and Future-Proofing
The ideal EV charger location is on the wall of your garage or carport, within 4–5 metres of where your vehicle's charge port will be. Most EV charge ports are on the driver's side (left rear or left front), so plan your parking orientation accordingly. But location isn't just about convenience — it affects cable routing, conduit runs, weather exposure, and whether you can add a second charger later.
- Garage-mounted charger with the panel in the same garage: The simplest, most cost-effective scenario. The electrician runs conduit or armored cable from the panel along the garage wall to the charger location. Total wire run is typically under 10 metres. Labour is 3–4 hours. Total installed cost at the low end of the range.
- Garage-mounted charger with the panel on the opposite side of the house: The electrician must route the 240V circuit through the home — through finished ceilings, walls, or exterior conduit — to reach the garage. A longer wire run means more materials and more labour, and it may require drywall access cuts and patching. Budget 5–8 hours and the mid-to-upper end of the cost range.
- Outdoor installation — exterior wall or freestanding pedestal: For homes without a garage, or where the driveway is far from the house, an outdoor-rated charger (Grizzl-E recommended, Tesla Wall Connector also outdoor-rated) mounted on an exterior wall or on a dedicated pedestal is the solution. The pedestal requires a concrete base and buried conduit from the home. This is the most expensive configuration and the one where weather rating matters most.
- Future-proofing for a second EV: If you think you might add a second EV in the next few years, run conduit and wiring sized for two chargers now — even if you only install one unit. The incremental materials cost is modest, and you'll avoid running new conduit and opening walls a second time. Tesla's load-sharing feature lets two Wall Connectors share a single circuit, which can significantly reduce the electrical load impact of two chargers.
Real Installation Costs for Chilliwack Homeowners
Here's what we're actually quoting for EV charger installations across the Fraser Valley in 2026. These are real numbers based on hundreds of installations — not hypothetical ranges from a manufacturer's website.
- A straightforward garage install with the panel in or immediately adjacent to the garage — including the charger unit, a dedicated 60A circuit, breaker, conduit, mounting hardware, labour, permit, and TSBC inspection — typically runs $1,200–$1,800 for a Tesla Wall Connector, $1,400–$2,000 for a ChargePoint Home Flex (hardwired), and $1,300–$1,900 for a Grizzl-E. The Tesla is slightly less expensive because the unit is slightly cheaper and the installation is faster.
- If the panel is on the opposite side of the house and the wire run exceeds 20 metres, add $300–$600 in materials and labour for the longer conduit run, larger-gauge wire to compensate for voltage drop over distance, and any drywall access work. An outdoor pedestal mount on a driveway adds $800–$1,500 for the pedestal, concrete base, and buried conduit from the home to the pedestal location.
- If your home has a 100A panel and you need a 200A service upgrade before the charger can be installed, the combined job — panel upgrade plus charger installation — typically runs $3,000–$5,000 total. The panel upgrade is the larger portion ($1,800–$2,800) and includes the new 200A panel, meter base, service entrance cable, BC Hydro coordination, and TSBC inspection. The charger installation portion is then a standard, uneventful addition to a panel that now has plenty of capacity.
Important
Be wary of quotes that seem unusually low — $800 for a 'full charger install' is almost certainly unpermitted, uninsured, or both. A legitimate EV charger installation requires a permit, a licensed contractor, and a dedicated circuit — and those three things cost money.
$1,200+
Typical Total (Garage Install)
EV Charger Installation Cost Breakdown — Chilliwack, BC
A straightforward garage installation where the panel is in or next to the garage is the most common scenario. Here's what the costs look like for a typical single-family home in the Fraser Valley.
Level 2 charger unit (Tesla, ChargePoint, or Grizzl-E)
$550 – $900
60A 240V circuit (breaker, wire, conduit)
$150 – $400
Labour (3–5 hours typical)
$400 – $800
TSBC permit & inspection
$200 – $400
Load management device (if panel near capacity)
$600 – $1,200
200A panel upgrade (if needed — 100A homes)
$1,800 – $2,800
Typical Total — Straightforward Garage Install
$1,200 – $2,500
Includes charger unit, dedicated circuit, labour, permit, and TSBC inspection
Homes with 100A panels, long wire runs, or outdoor pedestal mounts may increase the total. Every quote includes a free on-site panel assessment and load calculation.
What an EV Charger Installation Looks Like — Start to Finish
Free On-Site Panel Assessment & Load Calculation
We visit your home, inspect your electrical panel and service entrance, measure the distance from panel to your preferred charger location, and perform a load calculation on your existing circuits. We then recommend the right charger and amperage for your specific situation and provide a firm written quote — typically within 24 hours of the site visit.
BC Hydro Load Notification & TSBC Permit Application
We submit the BC Hydro load notification (required for chargers drawing 40A+) and the Technical Safety BC installation permit. BC Hydro's notification tells the grid planning team that a new significant load is being added at your address — routine for most Chilliwack neighbourhoods, though older areas may require a transformer check. You don't fill out a single form.
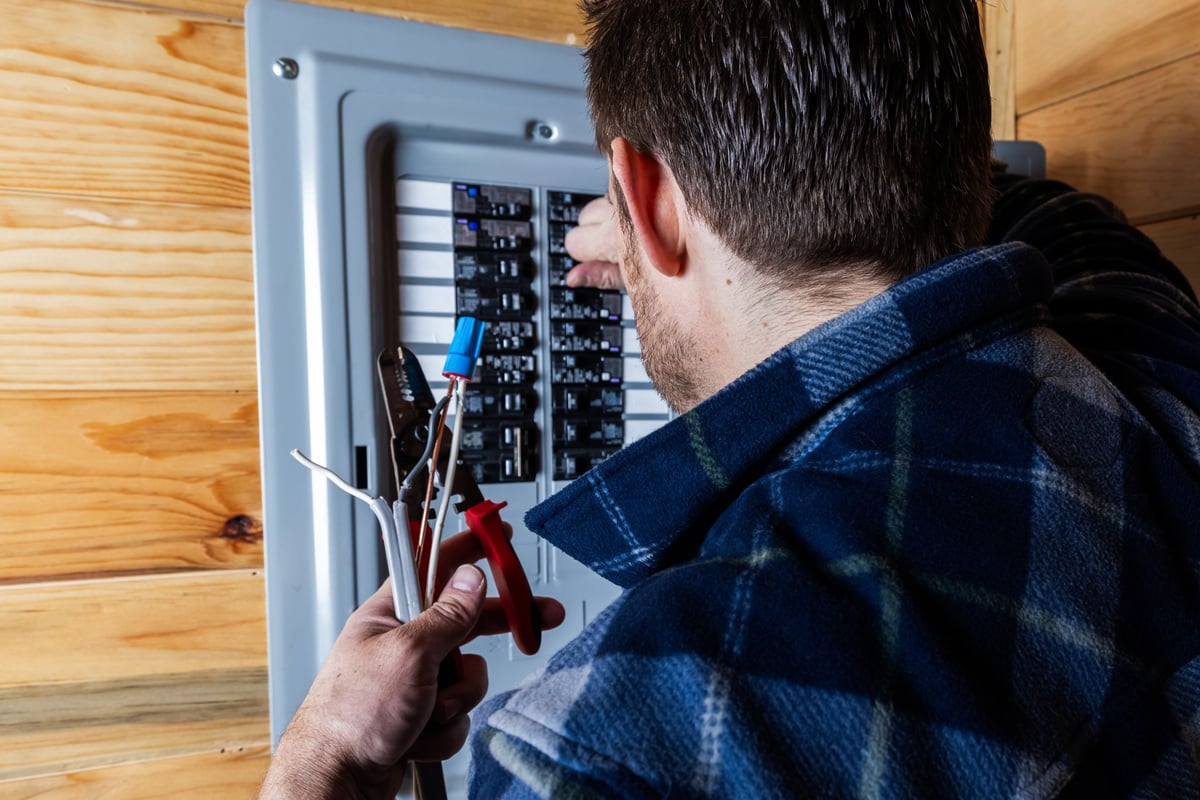
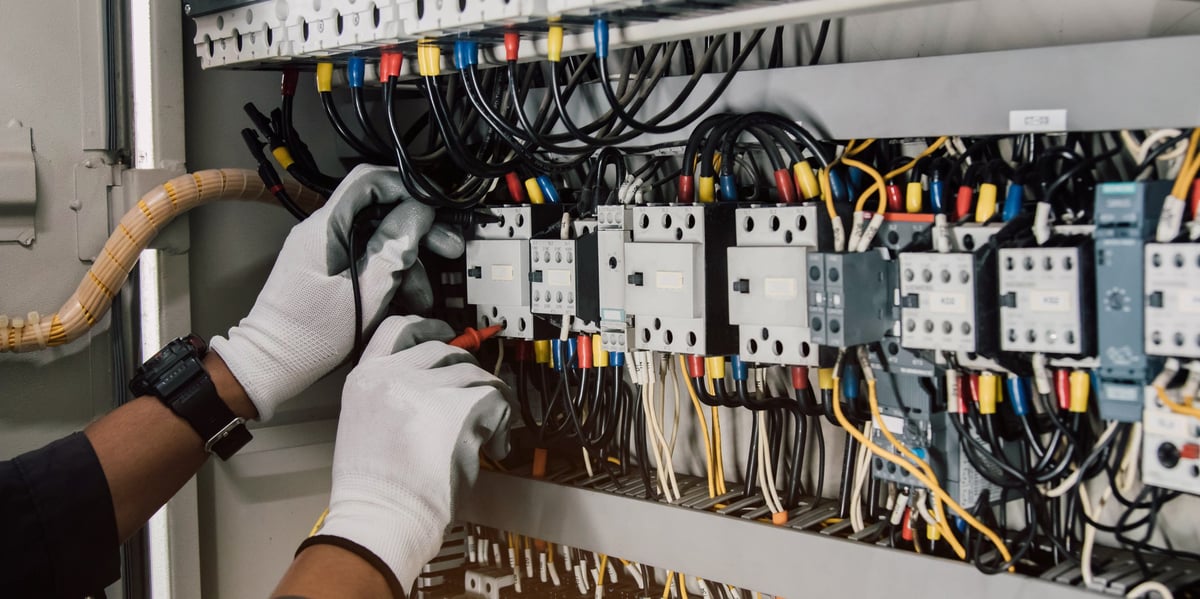
Installation Day — Circuit, Charger & Commissioning
Our licensed electrician runs a dedicated 240V circuit from your panel to the charger location, mounts the charger, torques every connection to manufacturer spec, configures the charger's amperage (via internal DIP switches or Wi-Fi), and tests the full system with a connected vehicle. A standard garage install takes 3–5 hours from arrival to cleanup.
TSBC Inspection & Certificate of Compliance
The Technical Safety BC inspector visits (usually within 1–5 business days), reviews the installation against the Canadian Electrical Code and Rule 86-300 for EV supply equipment, and issues your Certificate of Compliance. You're now charging safely, legally, and with documentation your home insurer will appreciate.
A Word About DIY & Unpermitted EV Charger Installations
Installing a Level 2 EV charger involves 240V wiring, a dedicated circuit rated for continuous load (125% rule under the CEC), proper grounding and bonding, and a Technical Safety BC permit. An improperly installed charger can cause electrical fires, damage your vehicle's charging system, void your home insurance, and create problems when you sell the property. We have seen chargers wired with undersized Romex, NEMA 14-50 outlets that melted under continuous load, and unpermitted installations flagged during home inspections.
If you already have a charger that was installed without a permit — or you're not sure — CN Electrical can perform an EV charger safety inspection and, if it passes, pull a post-installation permit. Call us at 1-604-798-1847 to schedule one.
Ready to Plug In at Home?
Whether you've already bought your charger or you're still comparing models, start with a free panel assessment. We'll tell you exactly what your home needs and what it'll cost — no obligation, no pressure.